
Paver Driveway Cleaning and Re-Sanding: The Full Process
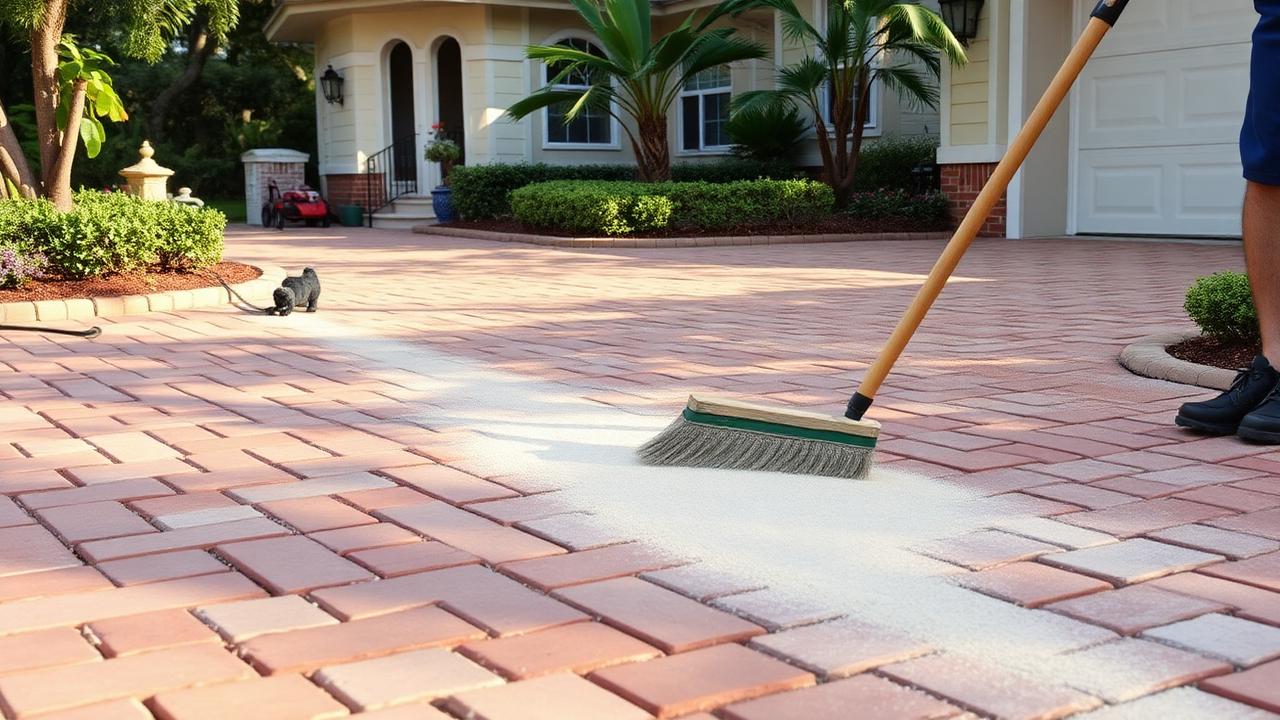
Paver driveways are everywhere in South Florida, prized for their durability, curb appeal, and ability to handle our intense sun and sudden downpours better than plain concrete. But that same weather that makes pavers popular also works against them over time, washing out joint sand, feeding algae growth, and fading the surface finish faster than most homeowners expect.
A full driveway restoration isn't just about blasting away dirt with a pressure washer. Cleaning, re-sanding, and sealing are three connected steps, and skipping or rushing any one of them shortens how long the results actually last. Understanding the full process helps homeowners know what to expect and why each stage matters.
This article breaks down the complete paver driveway restoration process from initial assessment through final sealing, along with realistic timelines for South Florida conditions.
Step One: Assessing Joint Sand Loss and Paver Movement
Before any cleaning begins, a proper assessment checks how much sand has already washed out from between the pavers and whether any individual pavers have shifted or settled unevenly. Heavy rain events, common throughout Florida's wet season, are the primary cause of joint sand erosion, along with pressure from tree roots and years of vehicle weight in driveway applications.
Pavers that have sunk or lifted noticeably may need to be reset before cleaning, since cleaning alone won't correct a structural leveling issue. This is also the stage where a contractor identifies problem areas like oil stains, rust marks, or heavy algae concentration that will need special attention.
Step Two: Cleaning the Paver Surface
Pressure washing removes the accumulated algae, dirt, and grime from both the paver surface and the joints themselves. In Florida, algae growth on pavers tends to be worst in shaded driveway sections and anywhere water naturally pools after a storm, so these areas typically require extra attention or a slightly longer dwell time with a cleaning solution.
Getting this step right matters because any dirt or organic material left in the joints will simply grow back through the new sand, undermining the whole restoration within months.
Common Stains and How They're Addressed
| Stain Type | Typical Cause | Treatment Approach |
|---|---|---|
| Algae/moss | Shade, moisture retention | Pressure washing plus cleaning solution |
| Rust | Irrigation heads, metal furniture | Rust-specific treatment |
| Oil/grease | Vehicle leaks | Degreasing agent, targeted scrubbing |
| Efflorescence | Mineral deposits from below | Acidic cleaner, careful rinsing |
Step Three: Re-Sanding the Joints
Once the surface is fully clean and dry, new polymeric sand is swept into the joints between pavers. Polymeric sand is preferred over regular sand in Florida because it hardens once activated with water, resisting the erosion and ant-nesting problems that come with standard joint sand in a wet, humid climate.
The sand needs to be worked thoroughly into every joint and then activated according to the product's specifications, usually with a light, controlled misting of water rather than a heavy soaking, followed by adequate drying time before any foot or vehicle traffic.
Why Joint Sand Matters More Than Most Homeowners Realize
Properly filled joints do more than just look finished. They lock the pavers together, distributing weight evenly across the driveway and preventing individual pavers from shifting or rocking under vehicle traffic, which is one of the leading causes of premature paver damage.
Step Four: Sealing for Long-Term Protection
Sealing is the final and arguably most important step for driveways that see regular sun exposure and vehicle traffic. A quality sealer enhances the paver color, locks the joint sand in place, and creates a protective barrier against future stains and algae growth. For a deeper look at how sealing differs across surfaces, see our comparison of paver sealing versus concrete sealing options.
Driveways generally need resealing every two to three years in South Florida's climate, though heavily shaded or high-traffic driveways may need attention slightly sooner.
What to Expect for Timeline and Drying
A typical paver driveway restoration, from cleaning through sanding, can usually be completed in a single day for average-sized driveways, though sealing is often best done on a separate day to ensure the surface is completely dry. Homeowners should plan to keep vehicles off the driveway for the recommended cure time specified by the sealer manufacturer, often 24 to 48 hours depending on humidity levels.
Frequently Asked Questions
How often should paver driveways be re-sanded?
Most driveways need re-sanding every one to three years, depending on rainfall, traffic, and whether polymeric sand was used in the last application.
Can pavers be cleaned without removing all the old sand?
Yes, in many cases the surface can be cleaned while leaving intact, undamaged joint sand alone, with re-sanding focused only on areas showing visible gaps.
Does sealing prevent algae from coming back?
Sealing significantly slows algae and mold regrowth by reducing surface porosity, though it doesn't eliminate the need for occasional maintenance cleaning altogether.
Is polymeric sand really necessary in Florida?
It's strongly recommended. Regular sand washes out much faster in our heavy rain patterns, while polymeric sand hardens in place and resists erosion far better.
Choosing the Right Time of Year
South Florida's rainy season, roughly June through October, makes it harder to schedule re-sanding since polymeric sand needs a dry cure window after installation. Many owners plan paver cleaning and re-sanding projects for the drier winter and spring months, which also lines up well with preparing outdoor spaces for holiday gatherings and the peak season for entertaining guests.
Ready to bring your driveway back to life? Power Washing and More! handles complete paver cleaning, re-sanding, and sealing throughout South Florida. Check out our paver sealing services or request a free quote to get started.